STEP1:
- DOWNLOAD KALI ISO LATEST FROM KALI OFFICIAL WEBSITE
- THEN BURN IT INTO DISK OR MAKE A FLASH USB BOOTABLE USING UNIVERSAL BOOT INSTALLER TOOL THEN ENTER INTO BOOT LOADER MENU FOLLOW
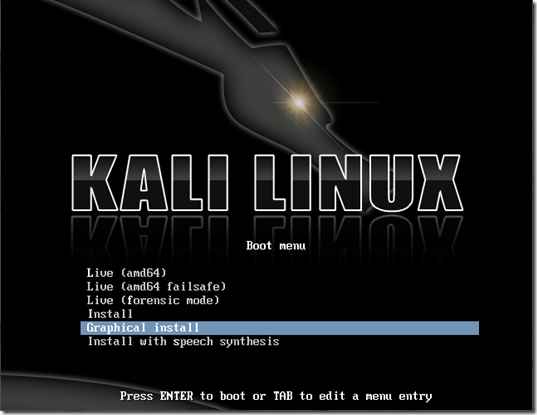

Step 2:
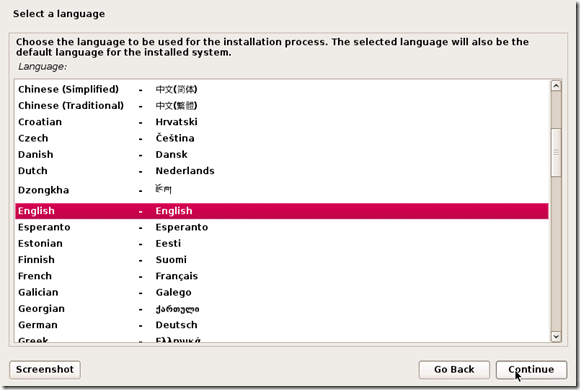
The next screen will ask you to select your preferred language, you can use the mouse to select this, then click Continue.
Step 3:
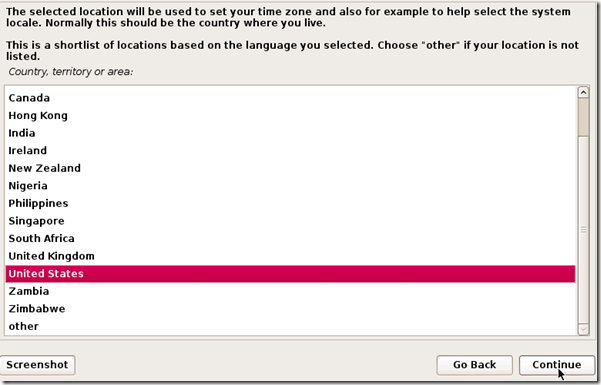
On the next screen, select your location and hit Continue.
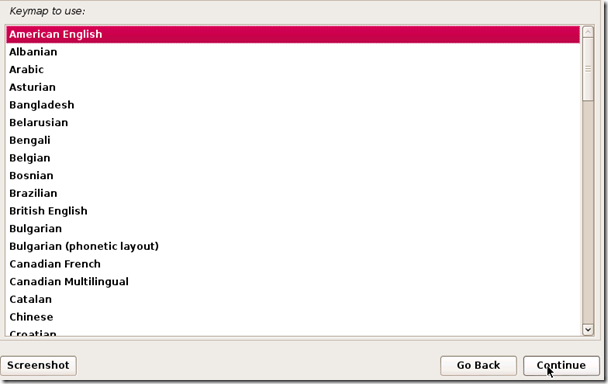
It’ll now ask you for your standard keymap. If you use the standard American English keyboard, then just click Continue.
Step 4:
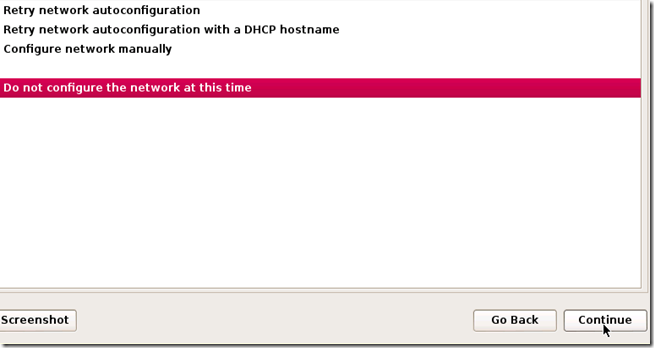
Wait until Kali finishes detecting the hardware on your computer. During this, you might be presented with this screen:

Just hit Continue and select Do not configure the network at this time on the next screen.
Step 5:
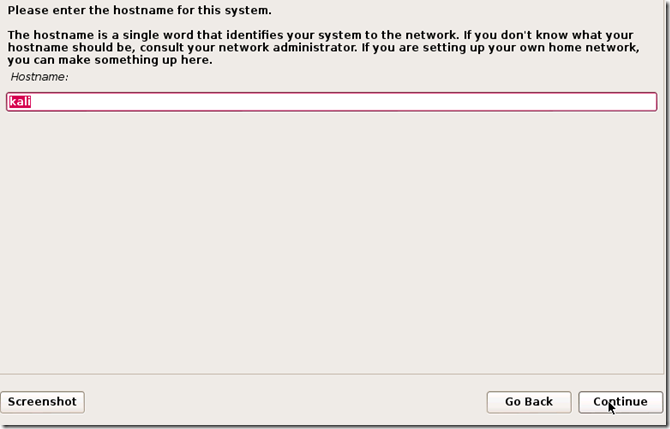
You will now be asked to supply a hostname, which is kind of like a computer name. You can enter anything you want, or you can just leave it as kali. When you’re done, hit Continue.
Step 6:
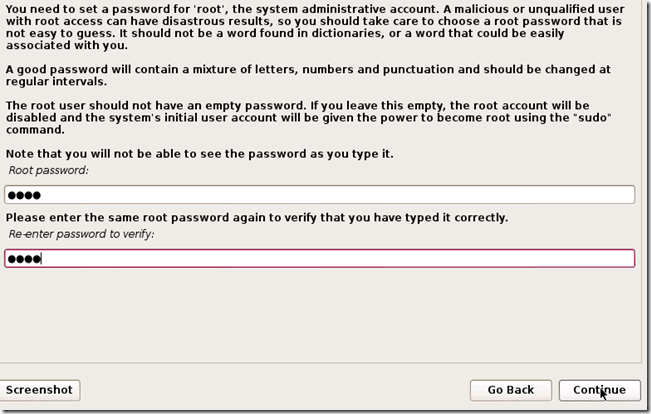
Kali will now ask you to enter a password for the root (main) account. Make sure you can easily remember this password, if you forget it, you’ll have to reinstall Kali. Hit Continue after you’ve enter and re-entered the password of your choice.
Step 7:
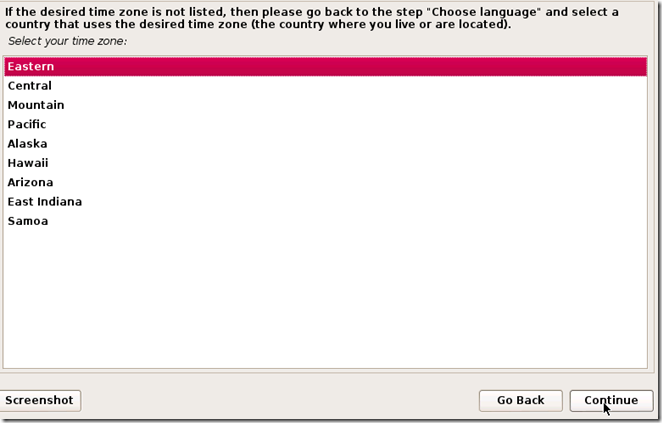
The next step will ask you for your time zone, select it and click Continue.
Step 8:
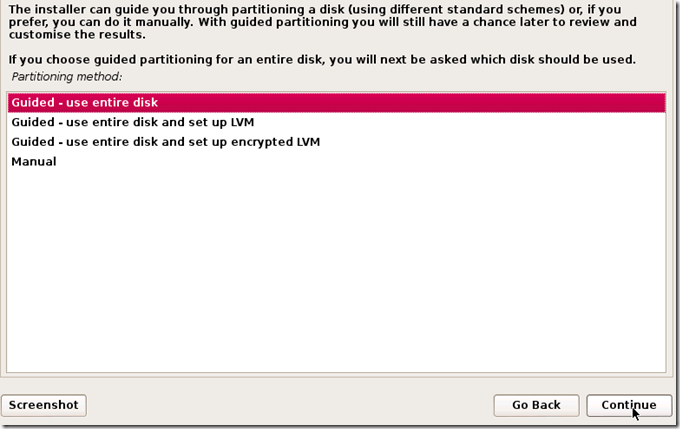
Wait until Kali detects the disk partitions. When you are presented with the next step, selectGuided – use entire disk. (this is usually the top option) then click Continue.
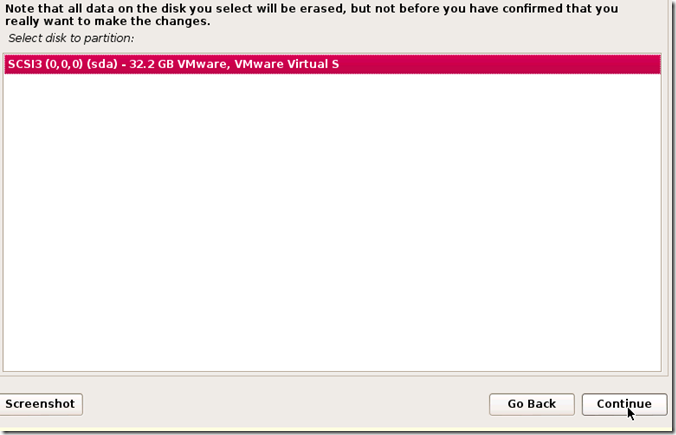
The installer will now confirm that you want to use this partition. Hit Continue.
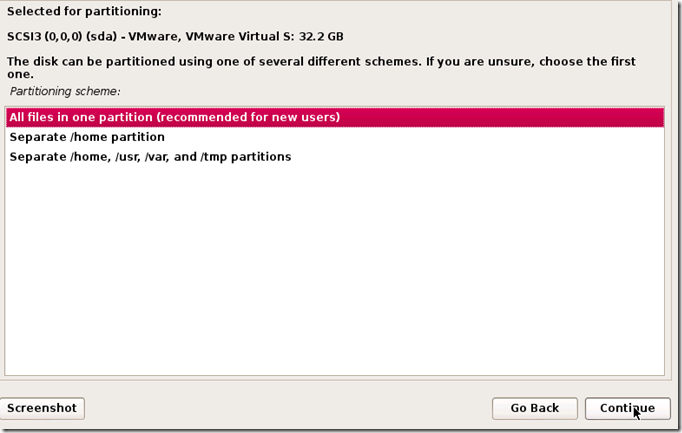
One more question about the partition will appear. Select the option that says All files in one partition and hit Continue.
Step 9:
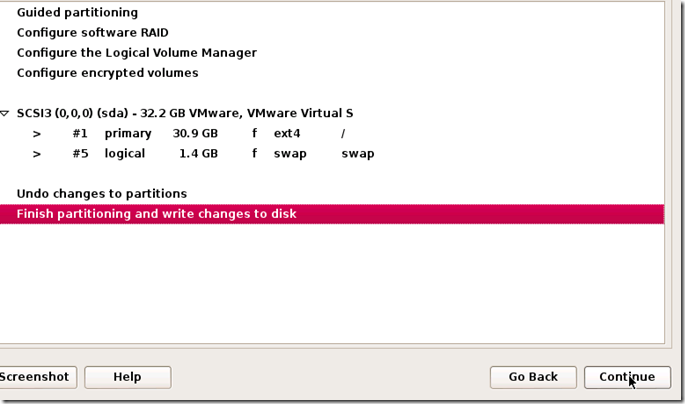
Confirm that you want to make these changes by selecting Finish partitioning and write changes to disk. Then hit Continue.
Step 10:
The last question! Confirm that you really want to make these changes by moving the dot toYes and hitting Continue for the last time.
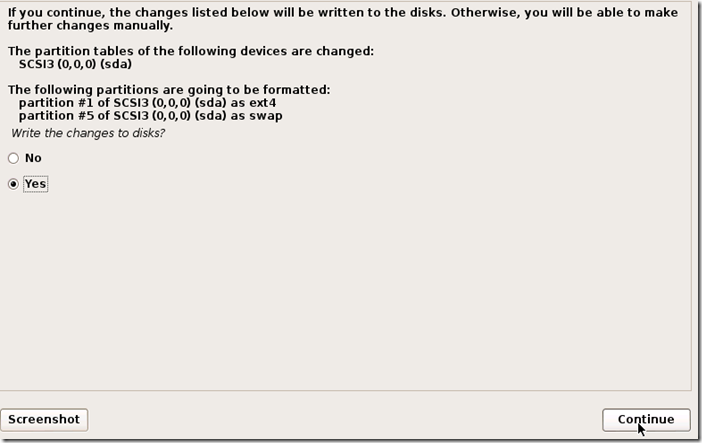
Kali will now start installing! Wait until it has completed, this might take upwards of 30 minutes.
Step 11:
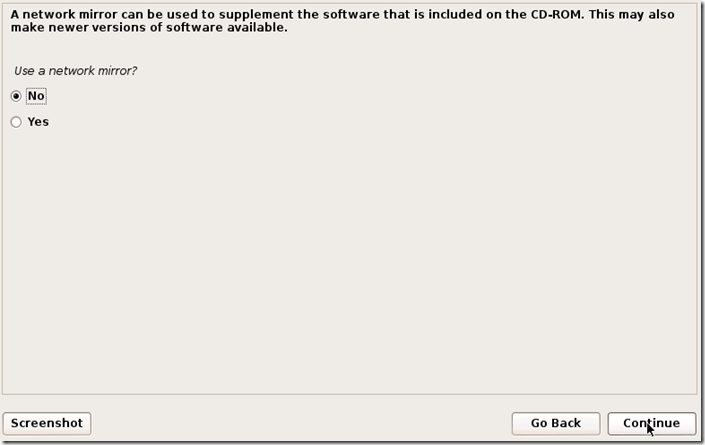
Alright, Kali has finished installing and now you are presented with a window that asks you about a network mirror. You can just select No and hit Continue.
Step 12:
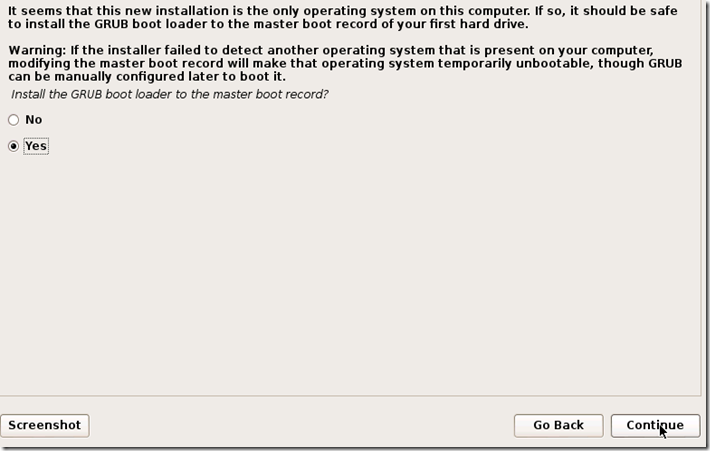
After a few minutes, the installer will ask you if you want to install GRUB boot loader. Click Yesand Continue.
Step 13:
The installation should now complete, and you’ll be shown with the following notification message:

Click Continue.
Step 24:
After it restarts, login to it with the user name root and the password that you created earlier.
--------------------------------------------------XXXXXX ENJOY XXXXXX--------------------------------------------------

